Disclosure: This post contains affiliate links. If you make a purchase through these links, I may earn a small commission at no additional cost to you.
You pull out the paint, turn around for three seconds, and suddenly there’s a blue handprint on the couch. Sound familiar? Paint anxiety is real, and so is the mess fatigue that comes with it.
That’s exactly why I love easy toddler crafts. They take minutes to set up, use supplies you already have, and most of them barely leave a mark on your kitchen table.
These 20 projects work for 1- and 2-year-olds at home or in a daycare room. Pick one, lay down some newspaper, and let your little artist go.
Mess-Free Painting Projects for 1 and 2-Year-Olds
Toddler painting projects don’t have to end in a bath. These ideas give them all the color with a fraction of the cleanup.
Ziploc Bag Paint Mixing (Zero Cleanup!)
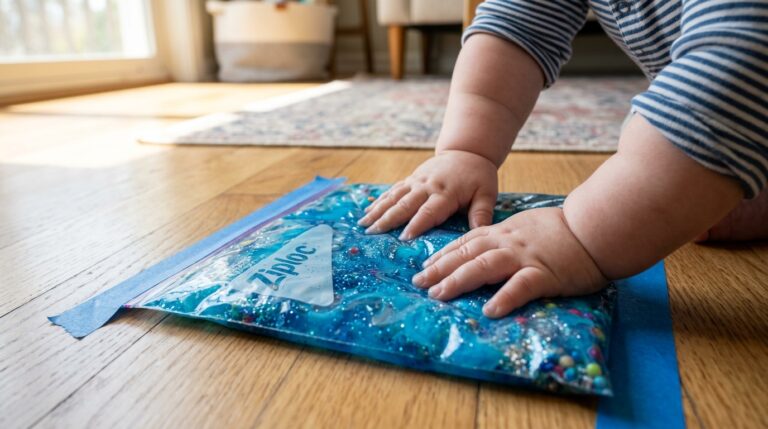
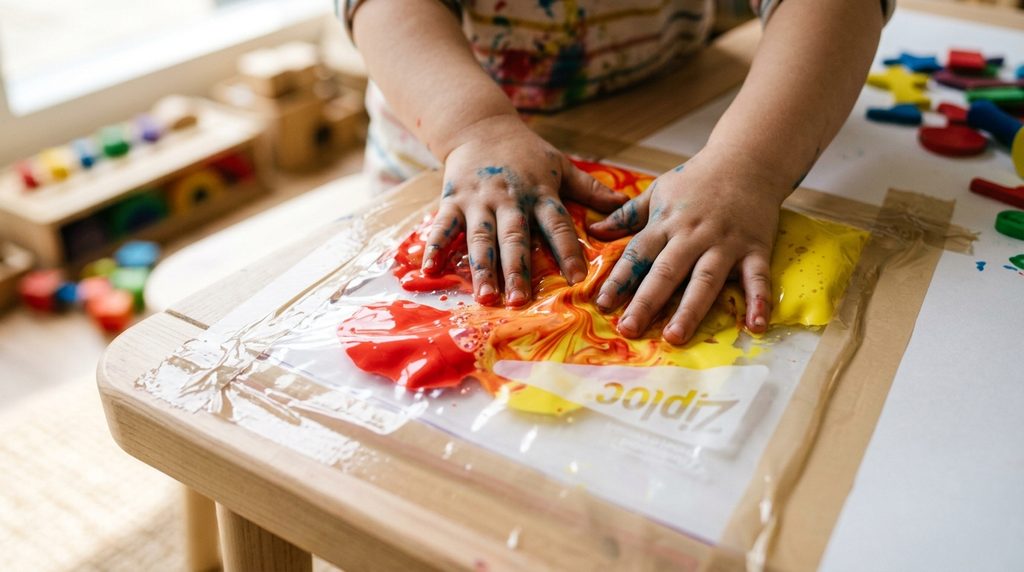
1. Ziploc Paint Mixing Bag
Materials Needed:
- Gallon zip bag
- Two or three colors of washable paint
- Tape
How to Set It Up: Squirt blobs of paint into the bag, seal it, and tape it flat to the table so they can squish the colors together.
Parenting Hack / Pro-Tip: Use primary colors only. Watching red and yellow turn orange feels like magic to a toddler.
“For stress-free crafting, always use non-toxic washable tempera paint so spills wipe right off skin and clothes with warm water.”
2. Cling Wrap Squish Print
Materials Needed:
- Cardstock
- Washable paint
- Plastic cling wrap
How to Set It Up: Dot paint on the paper, cover it with cling wrap, and let them smoosh. Peel it off together for a big reveal.
Parenting Hack / Pro-Tip: Tape the cling wrap edges down first so curious fingers can’t sneak underneath.
3. Bag Tracing Shapes
Materials Needed:
- Gallon zip bag with paint inside
- Tape
How to Set It Up: Tape the paint bag flat and draw a circle or line with your finger for them to trace.
Parenting Hack / Pro-Tip: Tracing shapes is sneaky pre-writing practice. Keep it playful, never like a lesson.
Q-Tip & Sponge Stamping Crafts
4. Q-Tip Dot Painting
Materials Needed:
- Cotton swabs
- Washable paint on a paper plate
- Paper
How to Set It Up: Show them how to dip and dot, then let them cover the page.
Parenting Hack / Pro-Tip: Bundle five Q-tips with a rubber band. Chunky “dot brushes” are much easier for small hands to grip.
5. Sponge Shape Stamping
Materials Needed:
- Kitchen sponges cut into shapes
- Paint on a plate
- Paper
How to Set It Up: Cut sponges into simple shapes like hearts or squares, then stamp away.
Parenting Hack / Pro-Tip: Clip a clothespin to each sponge as a handle. Fingers stay much cleaner.
Quick & Easy Paper Crafts for Toddlers
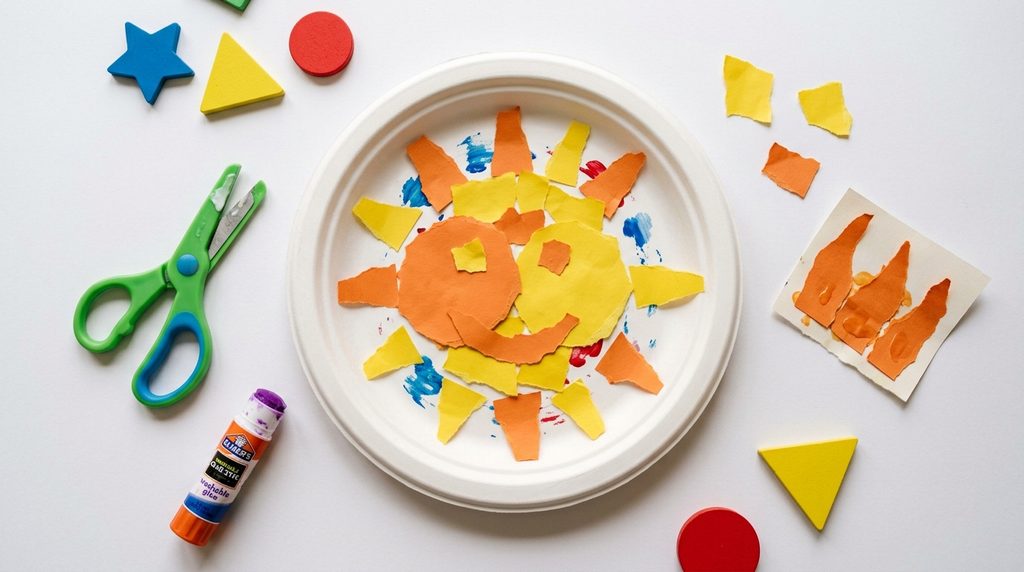
Paper crafts for toddlers are cheap, quick, and great for building hand strength. Tearing and sticking count as real art at this age.
Torn Construction Paper Collage & Paper Plate Sun
6. Torn Paper Collage
Materials Needed:
- Construction paper scraps
- Glue stick
- Paper
How to Set It Up: Let them tear paper into pieces, then stick the pieces anywhere they like.
Parenting Hack / Pro-Tip: Tearing builds the same finger muscles as scissors, without any sharp edges.
“When practicing cutting skills, make sure your child uses spring-action toddler safety scissors that only cut paper, not skin or hair.”
7. Paper Plate Sun
Materials Needed:
- Paper plate
- Yellow and orange paper strips
- Glue stick
How to Set It Up: Help them glue the strips around the plate’s edge as sun rays.
Parenting Hack / Pro-Tip: Swap glue for double-sided tape with younger toddlers. No sticky fingers at all.
8. Contact Paper Sticky Collage
Materials Needed:
- Clear contact paper
- Tissue paper squares
- Painter’s tape
How to Set It Up: Tape the contact paper sticky-side out on a window and let them press tissue squares on.
Parenting Hack / Pro-Tip: This is one of my favorite simple crafts for toddlers because there’s no glue to clean up.
Painter’s Tape Resist Art
9. Tape Resist Canvas
Materials Needed:
- Cardstock
- Painter’s tape
- Washable paint and a brush
How to Set It Up: Stick tape strips across the paper, let them paint over everything, and peel the tape once it’s dry.
Parenting Hack / Pro-Tip: Fold over one end of each tape strip so they can peel it themselves. That’s their favorite part.
10. Tape Name Reveal
Materials Needed:
- Painter’s tape
- Paper
- Crayons or paint
How to Set It Up: Tape their first initial onto the paper, let them color all over, then peel to reveal the letter.
Parenting Hack / Pro-Tip: Hang it on their bedroom door. Toddlers love seeing “their” letter every day.
Seasonal & Holiday Daycare Art Ideas for 2-Year-Olds
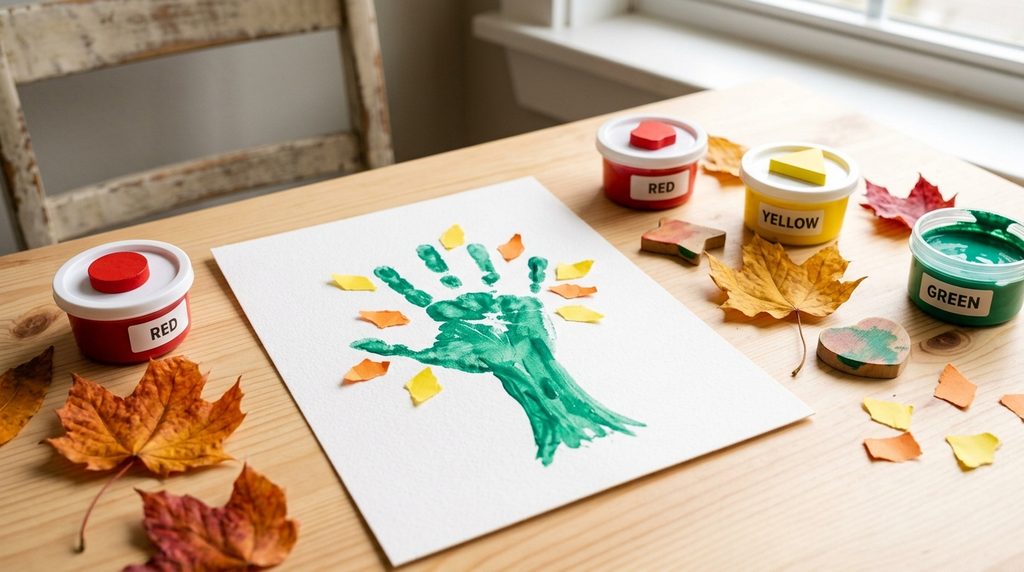
These daycare art ideas for 2 year olds make sweet keepsakes. Snap a photo and date the back so you’ll remember their age.
Fall Leaf Stamping & Handprint Trees
11. Fall Leaf Stamping
Materials Needed:
- Fresh leaves
- Fall-colored paint
- Paper
How to Set It Up: Brush paint on the back of a leaf and press it onto the paper.
Parenting Hack / Pro-Tip: Fresh leaves work far better than dry, crunchy ones. Make collecting them part of the fun.
12. Handprint Tree
Materials Needed:
- Brown paint
- Red, orange, and yellow paint
- Paper
How to Set It Up: Paint their hand and forearm brown to stamp a trunk, then add fingerprint leaves.
Parenting Hack / Pro-Tip: Keep a damp washcloth right next to you before painting hands. Wipe, then move on.
13. Fingerprint Pumpkin Patch
Materials Needed:
- Orange and green paint
- Paper
How to Set It Up: Let them press orange fingerprints across the page, then add tiny green stems.
Parenting Hack / Pro-Tip: One finger, one color. It keeps the colors bright instead of turning into brown.
Spring Blossom Bubble Wrap Prints
14. Bubble Wrap Blossom Print
Materials Needed:
- Bubble wrap
- Pink and white paint
- Paper with a drawn tree branch
How to Set It Up: Paint the bubble wrap and press it along the branch for puffy blossoms.
Parenting Hack / Pro-Tip: Tape bubble wrap around a toilet paper roll for a blossom “rolling pin.”
15. Pom-Pom Clothespin Blossoms
Materials Needed:
- Large pom-poms
- Clothespins
- Paint and paper
How to Set It Up: Clip a pom-pom into a clothespin and dab paint blossoms around a branch.
Parenting Hack / Pro-Tip: Use large pom-poms only and put them away after crafting, since small ones are a choking risk.
Low-Cost Recycled Material Crafts (Toilet Paper Rolls & Cardboard)
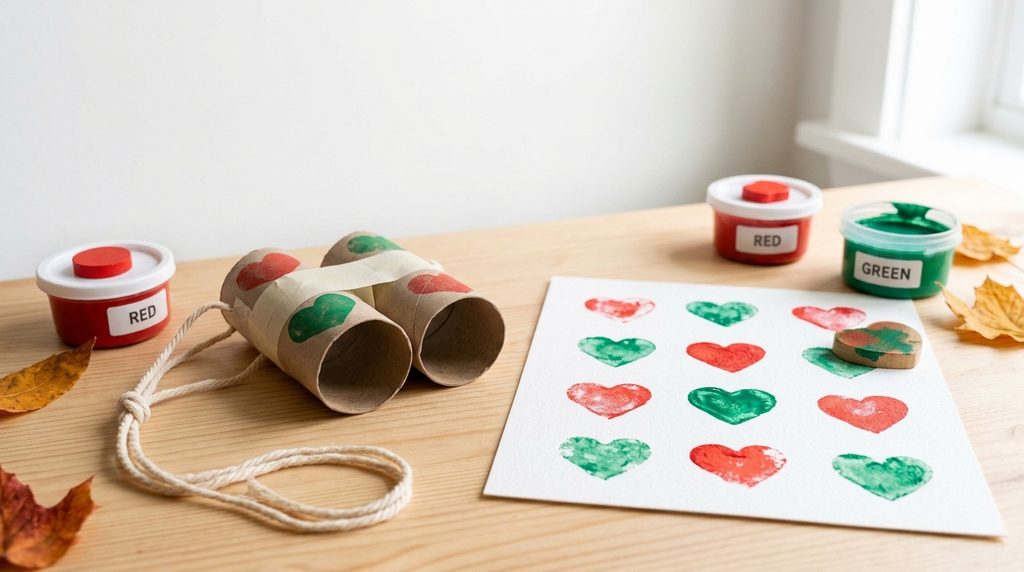
Before you take out the recycling, save a few pieces. Recycled crafts for 2 year olds cost nothing and feel like treasure hunts.
Toilet Paper Roll Binoculars & Stampers
16. Toilet Paper Roll Binoculars
Materials Needed:
- Two toilet paper rolls
- Tape
- Stickers or crayons
How to Set It Up: Tape the rolls side by side and let them decorate before heading out on a “safari.”
Parenting Hack / Pro-Tip: Hide toy animals around the room for them to spot. Craft time instantly turns into play time.
17. Paper Roll Circle Stamper
Materials Needed:
- Toilet paper roll
- Paint on a plate
- Paper
How to Set It Up: Dip the end of the roll in paint and stamp circles all over the page.
Parenting Hack / Pro-Tip: Squeeze the roll into a heart shape for Valentine’s Day prints.
18. Paper Roll Octopus
Materials Needed:
- Toilet paper roll
- Scissors (for you)
- Paint
How to Set It Up: Cut eight short legs into one end and let them paint their octopus any color.
Parenting Hack / Pro-Tip: Curl the legs around a pencil after it dries. Instant personality!
Cardboard Box Nature Collage
19. Cardboard Nature Collage
Materials Needed:
- Flat cardboard piece
- White glue
- Leaves, petals, and twigs
How to Set It Up: Spread glue on the cardboard and let them press their nature finds into it.
Parenting Hack / Pro-Tip: Check their collection for berries and small stones before crafting. Little ones still mouth everything.
20. Big Box Mural
Materials Needed:
- Large cardboard box
- Crayons, markers, or paint
How to Set It Up: Open the box flat on the floor and let them color the whole thing.
Parenting Hack / Pro-Tip: A giant canvas keeps toddlers busy for ages. Turn it into a play house afterward.
Frequently Asked Questions About Toddler Crafting
How do I make crafting less messy with a 2-year-old?
Set up on an old shower curtain or plastic tablecloth, and only put out a small amount of paint at a time. Choose washable supplies and keep a damp cloth within reach.
It also helps to craft right before bath time. Any mess goes straight into the tub!
What are the best art supplies to keep at home for toddlers?
Start with washable paint, chunky crayons, glue sticks, construction paper, and painter’s tape. Add cotton swabs, sponges, and paper plates for extra variety.
Keep everything in one bin so you can grab it the moment boredom hits.
Conclusion & Free Download
Toddler art isn’t about a perfect result. It’s about the squishing, tearing, stamping, and proud little grins along the way.
Pick one craft to try this week and let them lead. Then grab our free printable Toddler Craft Supply Checklist below so your craft bin is always ready to go!
About the Author