Disclosure: This post contains affiliate links. If you make a purchase through these links, I may earn a small commission at no additional cost to you.
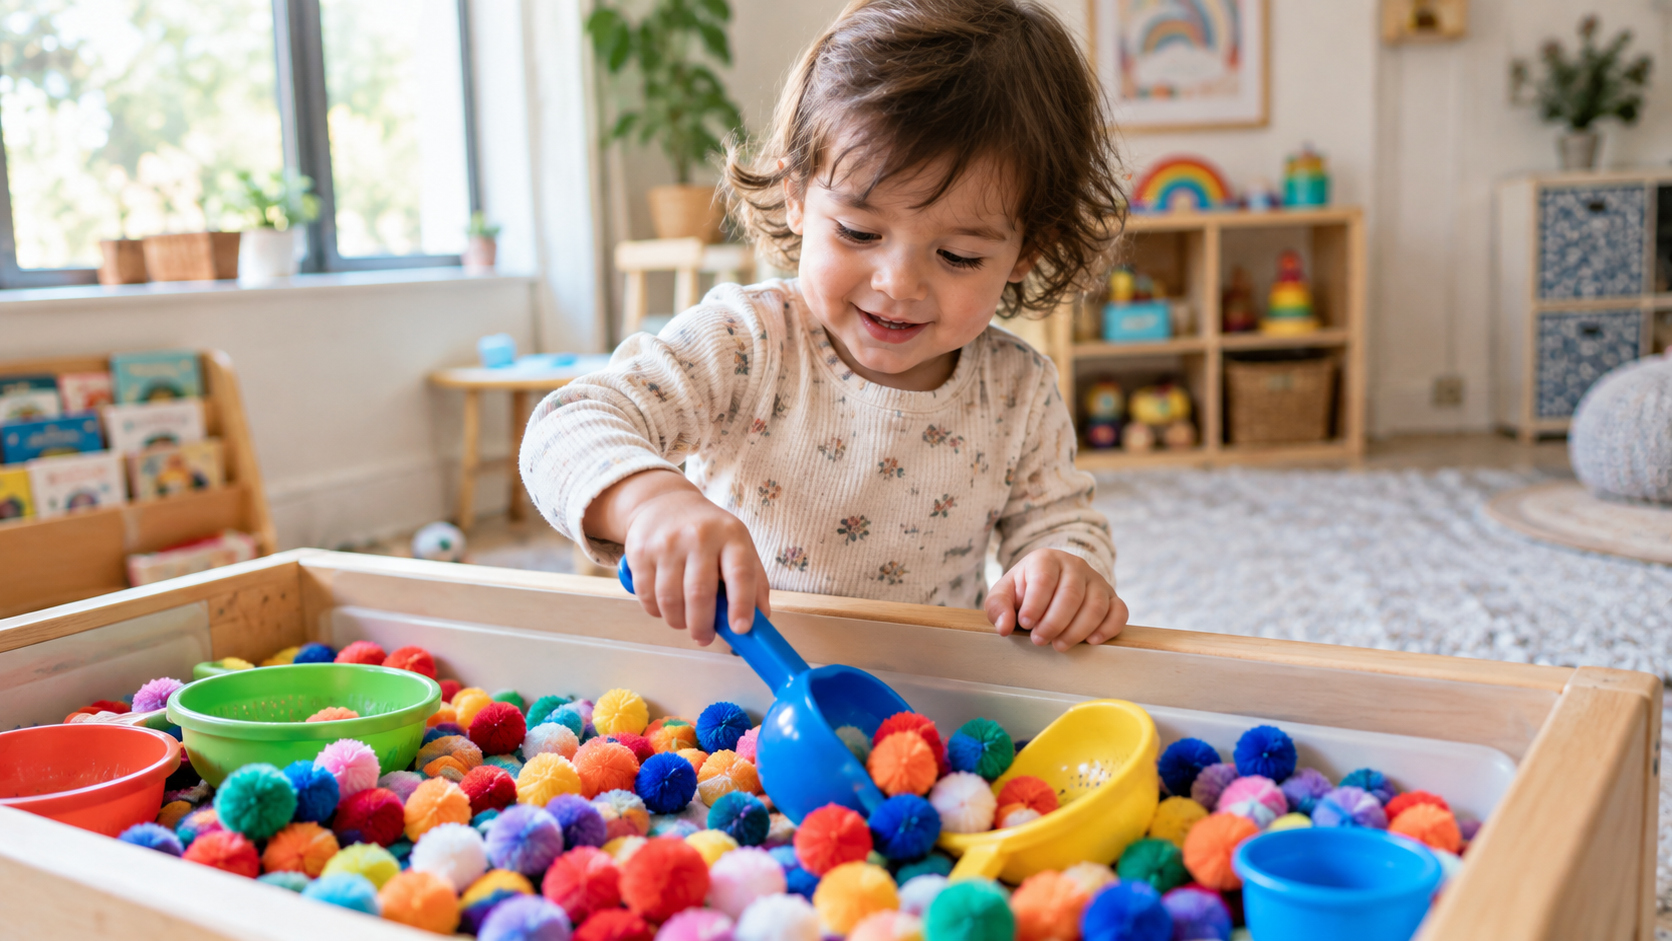
Does the thought of sensory play give you flashbacks of rice ground into the rug? You’re not alone, mama. Sensory bins are amazing for growing brains and busy hands, but nobody wants a 45-minute cleanup after 10 minutes of play.
Here’s the good news. The best toddler sensory table ideas don’t have to be messy at all. These 15 bins use cheap household and dollar store items, and every one is designed to keep the mess inside the bin, right where it belongs.
Whether you have a curious 1-year-old or a busy 2-year-old, you’ll find something here you can set up before your coffee goes cold.
“The key to a good mess-free setup is starting with a shallow 28-quart clear plastic storage tub that keeps materials enclosed while giving your toddler plenty of room to dig.”
How to Set Up a Toddler Sensory Bin (Without the Mess)
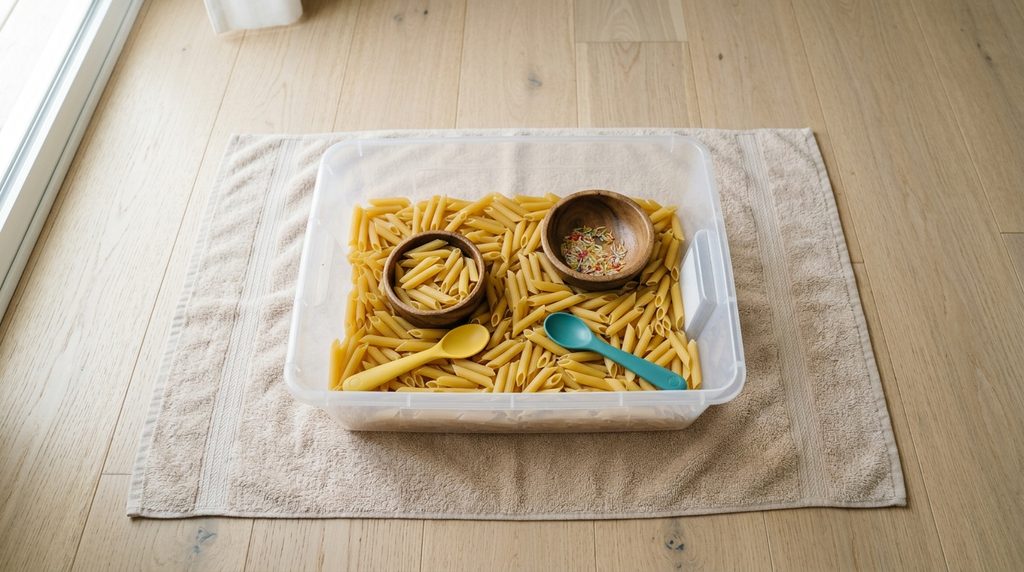
Mess-free sensory play starts before you pour a single noodle. A few simple habits make all the difference.
The Two-Towel Rule & Container Setup
Lay a large beach towel or fitted sheet under your bin or Tuff tray. When play is over, lift the corners and funnel the stray bits right back into the container.
The second towel? Keep it within arm’s reach for wet hands and surprise spills.
Choose a wide, shallow container with low sides. Deep bins invite digging and flinging, while shallow ones keep little hands busy right where you can see them.
Choosing Safe, Toddler-Friendly Fillers
For 12 to 24 month olds, anything in the bin will probably end up in a mouth. Pick big, taste-safe fillers like O-shaped cereal, large penne pasta, oversized pom-poms, or sealed gel bags.
Skip small beads, dried beans, and water beads completely. A quick test: if it fits through a toilet paper tube, it’s too small for this age.
Budget-Friendly Dollar Tree Sensory Bins
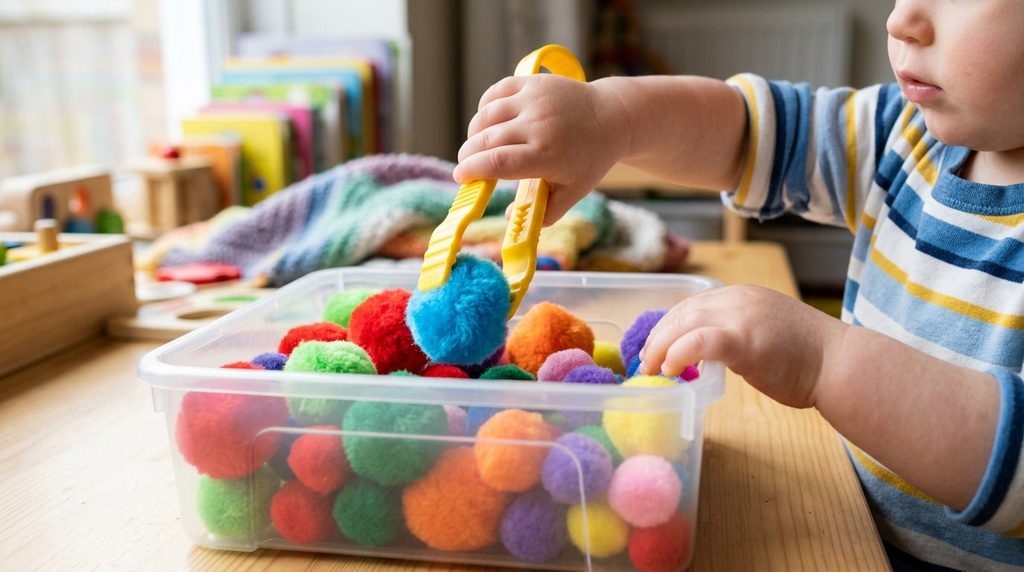
These dollar tree sensory bins cost about $5 to put together. Even better, most of the supplies get reused again and again.
Dry Pasta & Pom-Pom Color Sorting Bin
1. Pasta Scoop & Dump Bin
Materials Needed:
- Shallow plastic bin
- 1 box of large penne or rigatoni
- Measuring cups and small bowls
How to Set It Up: Pour the pasta into the bin and add cups for scooping, pouring, and dumping.
Parenting Hack / Pro-Tip: Shake pasta in a zip bag with a splash of vinegar and a few drops of food coloring. It dries in about an hour and looks so much more inviting.
2. Pom-Pom Color Sort
Materials Needed:
- Large fuzzy pom-poms
- Big plastic tongs
- Muffin tin
How to Set It Up: Mix the pom-poms into the pasta and set out a muffin tin for sorting by color.
Parenting Hack / Pro-Tip: Tongs too tricky? Start with fingers, then a big spoon, then tongs. Each step builds fine motor skills toddler hands need for crayons later.
3. Cereal Scoop Bin
Materials Needed:
- O-shaped cereal
- Shallow bin
- Small cups and spoons
How to Set It Up: Fill the bin with cereal and let them scoop, pour, and fill cups.
Parenting Hack / Pro-Tip: This is the perfect first bin for 1-year-olds, because every “taste test” is totally fine.
Mess-Free Water Play & Tuff Tray Ideas
4. Half-Inch Ocean Bin
Materials Needed:
- Shallow tray or Tuff tray
- Water and a squirt of tear-free soap
- Plastic sea animals and a small strainer
How to Set It Up: Add just half an inch of water and a little soap, then hide the animals under the bubbles.
Parenting Hack / Pro-Tip: Less water means fewer splashes. Stay right beside your toddler, though, since even shallow water needs an adult close by.
5. Sponge Squeeze Transfer
Materials Needed:
- Two bowls
- Water
- Kitchen sponges
How to Set It Up: Fill one bowl with water and show them how to soak a sponge and squeeze it into the empty bowl.
Parenting Hack / Pro-Tip: Squeezing builds the exact hand muscles they’ll use for scissors and pencils down the road.
6. Ice Rescue Tray
Materials Needed:
- Muffin tin
- Large plastic toys
- Squeeze bottle of warm water
How to Set It Up: Freeze toys in the muffin tin overnight, then pop the ice blocks into a tray for a warm-water rescue mission.
Parenting Hack / Pro-Tip: Melting ice means puddles, so this one is a must for the two-towel rule.
Montessori-Inspired Fine Motor Activities (12–24 Months)
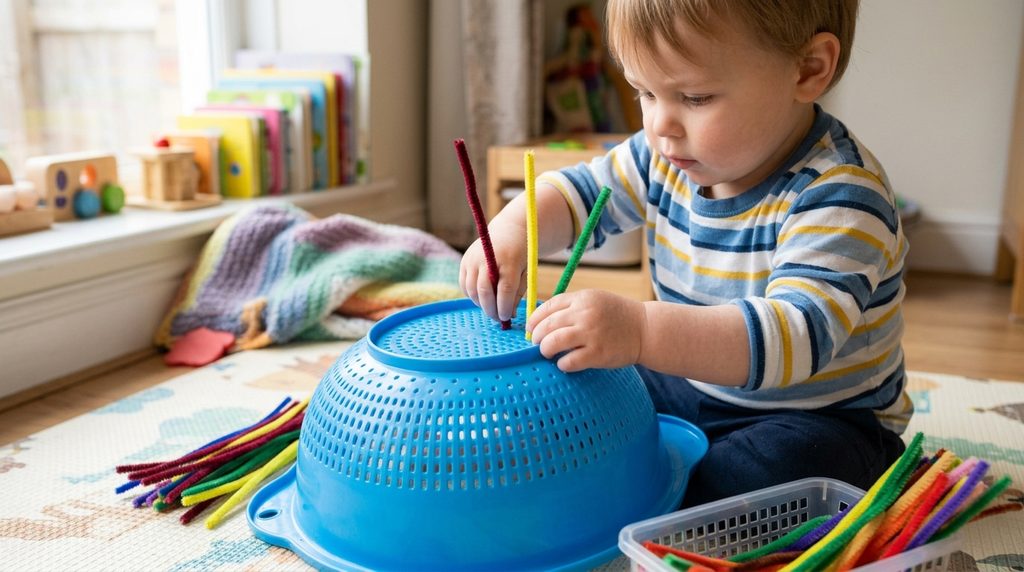
These montessori sensory activities are calm, simple, and built around one skill at a time. That focus is exactly why toddlers stick with them.
“Enhance fine motor development by letting your toddler explore with a set of toddler fine motor scoops and handy tongs.“
The Ribbon Pull Box & Felt Strip Drop
7. Ribbon Pull Box
Materials Needed:
- Empty tissue box or small cardboard box
- Colorful ribbons
- Pencil for poking holes
How to Set It Up: Poke holes in the box, thread the ribbons through, and knot them inside so they slide back and forth.
Parenting Hack / Pro-Tip: Keep ribbons under 12 inches and always supervise. Long strings aren’t safe for little ones.
8. Felt Strip Drop
Materials Needed:
- Oatmeal or formula container with a lid
- Felt strips
How to Set It Up: Cut a slot in the lid and show them how to push the felt strips through.
Parenting Hack / Pro-Tip: Once they’ve mastered it, make the slot narrower for a fresh challenge.
Kitchen Colander & Noodle Threading
9. Colander Spaghetti Poke
Materials Needed:
- Plastic colander
- Dry spaghetti
How to Set It Up: Flip the colander upside down and poke in a few noodles to show them how it works.
Parenting Hack / Pro-Tip: Spaghetti snaps easily, and that’s half the fun. Broken bits land on the towel, so cleanup is a quick shake.
10. Pipe Cleaner Colander
Materials Needed:
- Plastic colander
- Pipe cleaners
How to Set It Up: Hand over a bundle of pipe cleaners and let them fill every hole they can find.
Parenting Hack / Pro-Tip: Fold over the sharp ends of each pipe cleaner first to protect little fingers.
11. Penne Tower
Materials Needed:
- Paper towel holder
- Large penne pasta
How to Set It Up: Stand the paper towel holder upright and let them slide penne down the pole.
Parenting Hack / Pro-Tip: A sturdy pole is much easier than string for beginners. Graduate to pipe cleaners once they’re ready.
Mess-Free Sensory Bins for Quiet Independent Play
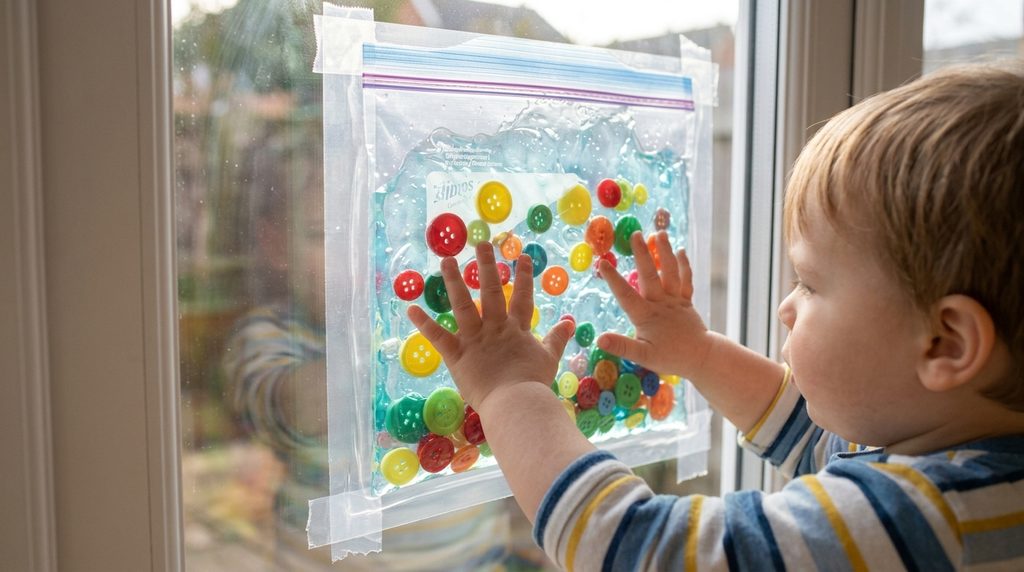
Need ten quiet minutes? This is mess free sensory play at its best, with zero spills and nothing to sweep up.
Hair Gel & Button Ziploc Sensory Bag
12. Gel & Button Squish Bag
Materials Needed:
- Heavy-duty gallon zip bag
- Clear hair gel and food coloring
- Large flat buttons
- Duct tape
How to Set It Up: Fill the bag, squeeze out the air, double-bag it, and tape all four edges to a low window or high chair tray.
Parenting Hack / Pro-Tip: Check the seams before every use. If it leaks even a little, toss it and make a fresh one.
13. Paint Mixing Bag
Materials Needed:
- Gallon zip bag
- Two or three colors of washable paint
- Tape
How to Set It Up: Squirt blobs of paint into the bag, seal it, and tape it flat to the table.
Parenting Hack / Pro-Tip: Name the new colors as they squish. It’s color-mixing magic with zero paint on fingers.
Foil Wrapped Toy Discovery Bin
14. Foil Surprise Bin
Materials Needed:
- Aluminum foil
- Large plastic farm animals or blocks
- Dry container
How to Set It Up: Wrap each toy in foil and drop them into the container for unwrapping.
Parenting Hack / Pro-Tip: Wrap loosely for younger toddlers and a little tighter as their fingers get stronger.
15. Tissue Paper Treasure Hunt
Materials Needed:
- Shoebox
- Tissue paper
- A few favorite toys
How to Set It Up: Crumple tissue paper into the box and hide toys underneath.
Parenting Hack / Pro-Tip: That crinkly sound is part of the sensory experience. Save the paper and reuse it all month.
Frequently Asked Questions About Toddler Sensory Bins
What age can toddlers start using sensory bins?
Most toddlers are ready around 12 months. Start with taste-safe fillers like dry cereal, large cups, or a sealed gel bag, since everything gets tasted at first.
Easy sensory bins for 2 year olds can add tongs, pasta, and large pom-poms as their skills grow. Always stay nearby during play.
How do I stop my toddler from throwing sensory bin fillers on the floor?
Set one simple rule before you start: “Sensory items stay in the bin.” If throwing begins, give one gentle reminder.
If it keeps happening, calmly close the bin and switch to a movement game like dancing. Throwing is often a sign they need to burn energy, so try the bin again later.
Conclusion & Free Download
Sensory play doesn’t have to mean a messy house. Start with one bin this week, lay down your towel, and watch your toddler focus in a way that might surprise you.
Save this post on Pinterest so it’s ready for your next long afternoon. And grab our free printable Sensory Play Starter Guide below for quick daily ideas!
About the Author