Disclosure: This post contains affiliate links. If you make a purchase through these links, I may earn a small commission at no additional cost to you.
Scroll through Instagram and you might think Montessori means beige wooden toys, perfectly styled shelves, and a nursery that costs more than your car. Here’s the truth: Montessori isn’t a look. It’s a way of seeing your baby.
At its heart, Montessori is about respect, freedom of movement, and growing independence. It trusts that your baby is a capable little person who learns best by exploring at their own pace.
That’s why the best montessori baby activities are often the simplest. A mirror, a wooden spoon, a basket of kitchen objects. You probably have most of what you need already.
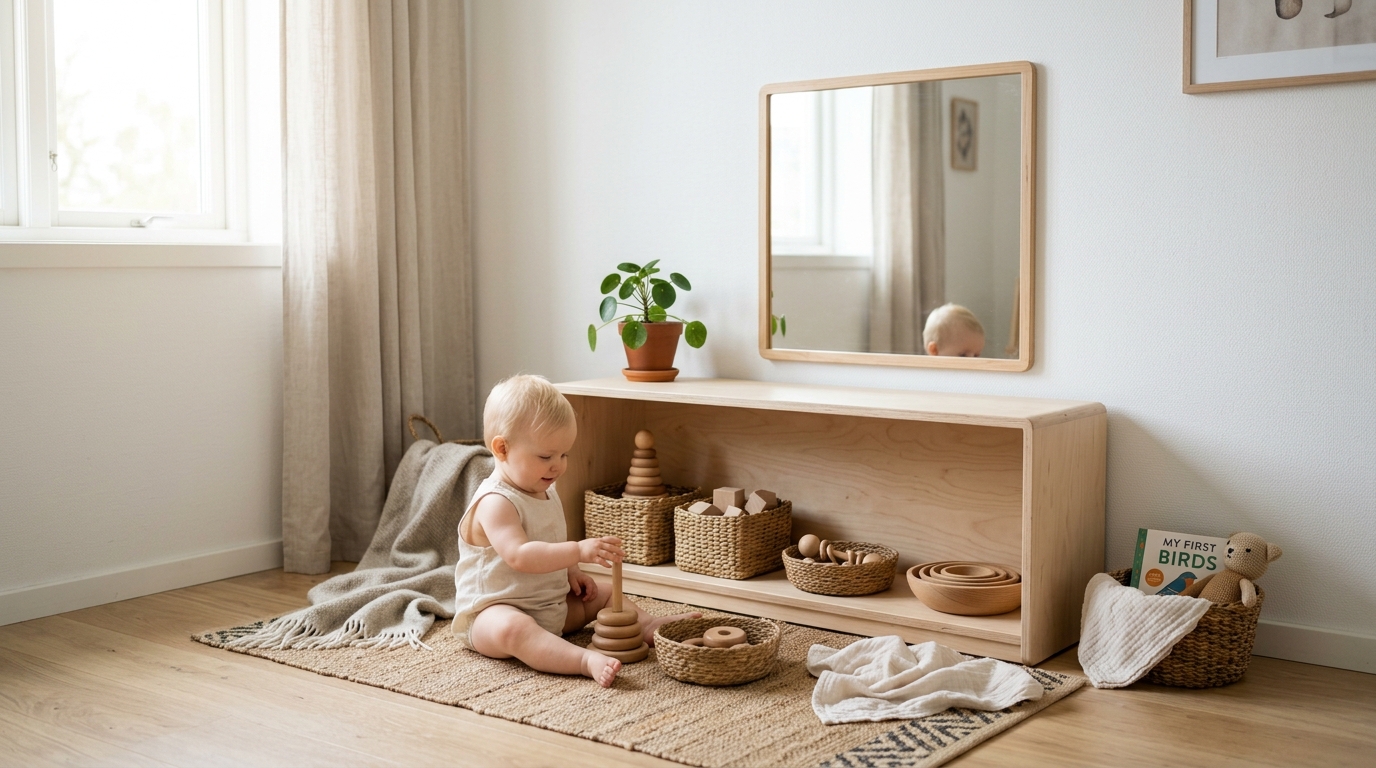
The big idea behind Montessori at home 0-12 months is the “Prepared Environment.” That simply means setting up your baby’s space so they can safely move, reach, and explore on their own. As your baby grows, the environment grows with them, from a simple floor mat to a low shelf of carefully chosen toys.
Let’s walk through 15 easy activities, stage by stage.
Montessori Visuals & Movement (0–3 Months)
Newborns see best at about 8 to 12 inches away, and bold contrast catches their eye first. Their vision sharpens week by week, and so does their interest in faces and movement.
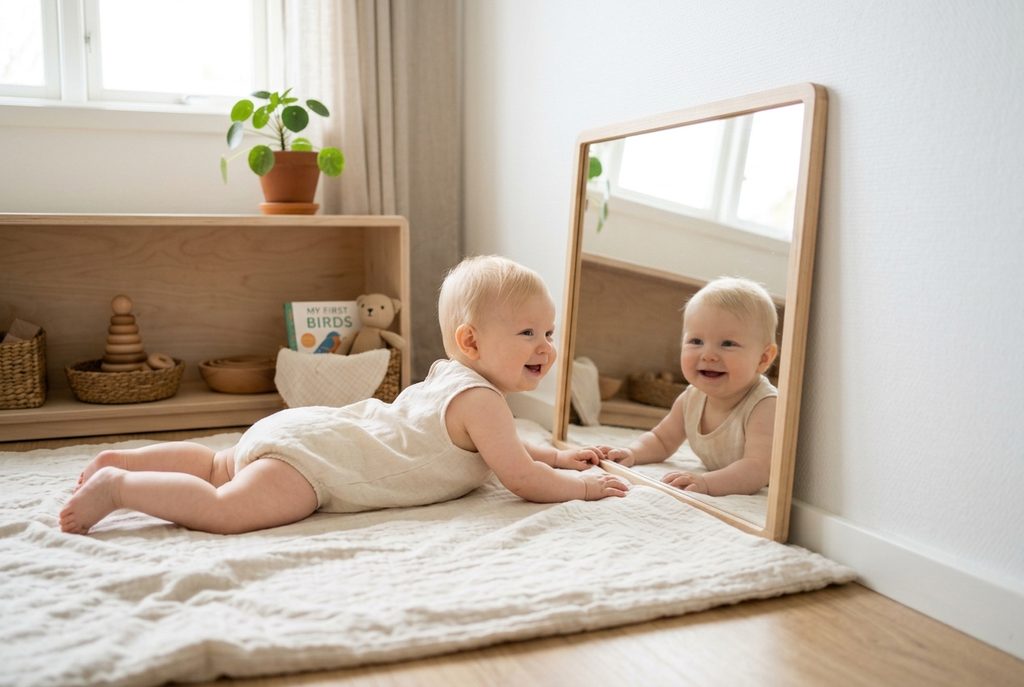
In Montessori, young babies spend awake time on a firm floor mat instead of in bouncers or swings. A low mirror beside the mat gives them something fascinating to watch while they wiggle, kick, and stretch.
Provide tactile feedback during early grasping play using organic wooden and crochet rattles made without synthetic plastics or chemical coatings.
1. Freedom of Movement Floor Time
Freedom of movement for babies means giving them open floor space to move their bodies however they like.
What You’ll Need: a firm play mat or folded quilt on the floor
- Lay your baby on their back on the mat during an awake window.
- Dress them in comfortable clothes that let their arms and legs move freely.
- Sit nearby and simply watch, without handing them toys.
- Add short tummy time sessions throughout the day.
Pro-Tip: Less equipment means more movement. Babies in floor time stretch, kick, and turn far more than babies propped in seats.
2. Low Wall Mirror Exploration
What You’ll Need: a shatterproof acrylic mirror, wall anchors or strong mounting strips
- Mount the mirror horizontally on the wall, right at floor level beside the mat.
- Lay your baby on their back or side, facing the mirror.
- Let them gaze at their reflection and movements.
- Use the mirror during tummy time too.
Pro-Tip: Use only shatterproof mirrors and check that they’re firmly mounted. Babies will pat and lean on them soon.
3. Montessori Mobile Setup
Montessori mobiles are simple, slow-moving, and designed for watching, not grabbing.
What You’ll Need: a simple black-and-white or soft-color mobile, a sturdy hook or play gym
- Hang the mobile about 12 inches above your baby’s chest while they lie on the floor mat.
- Make sure strings and parts are completely out of reach.
- Let your baby watch it drift in the air for a few minutes.
- Swap mobiles every few weeks as their vision develops.
Pro-Tip: Take mobiles down once your baby can grab them or push up on their hands. Hang them only over the play mat, never over the crib.
4. Ribbon Rings Hanging Play
What You’ll Need: a wooden ring, 3–4 short ribbons, a play gym
- Tie short ribbons onto a wooden ring.
- Hang the ring from the play gym just within reach of your baby’s hands.
- Let them swipe, bat, and eventually grab the ribbons.
- Remove the ring when playtime is over.
Pro-Tip: Keep ribbons short and supervise closely. Never leave hanging toys up while your baby sleeps or plays alone.
5. Tactile Grasping Bells
What You’ll Need: a securely attached bell on a short elastic or a bell rattle, a play gym
- Hang the bell so it sits just above your baby’s hand or foot.
- Let them discover that touching it makes a sound.
- Move it to the other side so both hands get practice.
- Offer a wooden bell rattle to hold once they start grasping.
Pro-Tip: Check that bells are firmly attached and can’t come loose, since small bells are a choking hazard.
Treasure Baskets & Grasping Play (4–7 Months)
Between 4 and 7 months, babies start reaching, grasping, rolling, and sitting. Everything goes straight to the mouth, which is exactly how they learn about texture, weight, and temperature.
This is the perfect time for natural infant toys made from wood, metal, cotton, and other real materials. They feel different from plastic and give your baby a richer sensory experience.
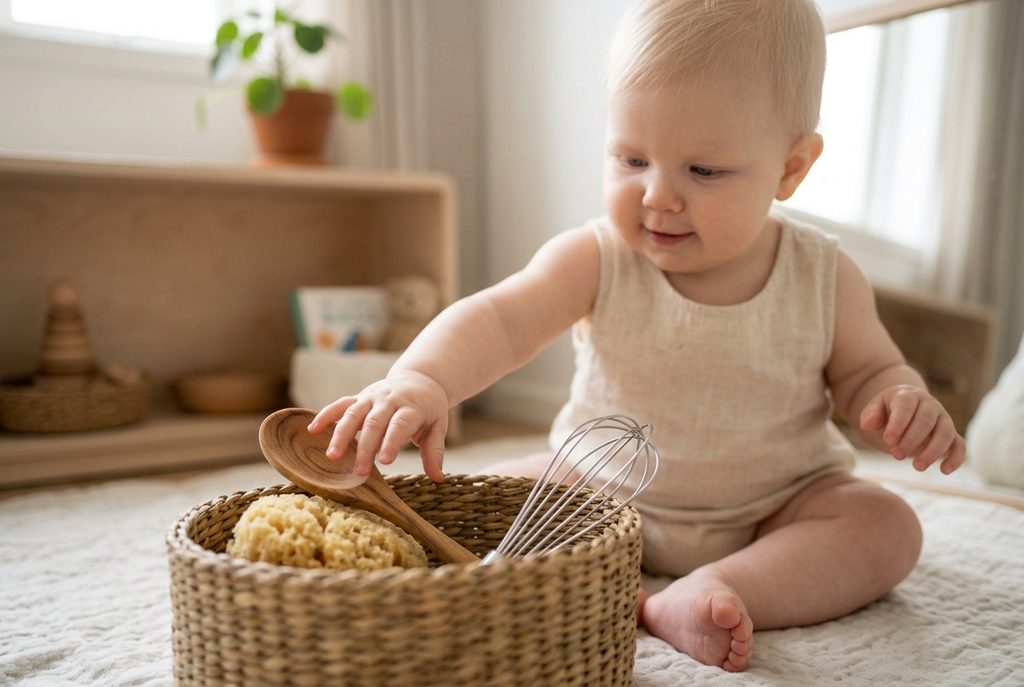
6. Household Metal & Wood Treasure Basket
What You’ll Need: a low, sturdy basket and 4–6 safe household objects
- Fill a shallow basket with objects like a wooden spoon, a small whisk, and a natural sponge.
- Sit your baby beside the basket, propped if they’re not sitting yet.
- Let them choose and explore each item on their own.
- Swap a few objects each week to keep it interesting.
Pro-Tip: Resist the urge to show them how to use each item. Let them discover it their own way.
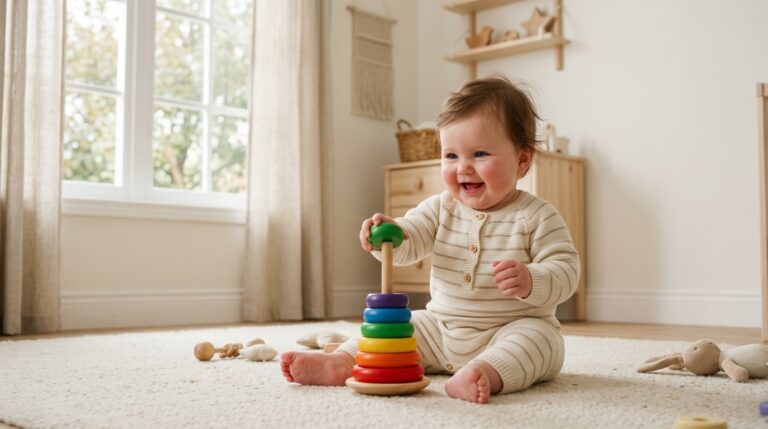
7. Interlocking Wooden Rings
What You’ll Need: a set of interlocking wooden or wood-and-silicone rings
- Place the rings within reach during floor play.
- Let your baby grab, shake, and mouth them.
- Watch for them to pass the rings from hand to hand.
Pro-Tip: Passing an object from one hand to the other is a big milestone, usually showing up around 5 to 7 months.
8. Fabric Pull Box
What You’ll Need: an empty tissue box, 4–5 small fabric squares (cotton, silk, wool, muslin)
- Tuck the fabric squares loosely into the box.
- Pull the first one halfway out.
- Let your baby pull out the rest and feel each texture.
- Name the textures as they explore: “soft,” “smooth,” “fuzzy.”
Pro-Tip: Use small squares, not long scarves, and put them away after play.
9. Silver Spoon Reflection Play
What You’ll Need: a stainless steel spoon or small metal measuring cup
- Hand your baby a clean metal spoon.
- Tilt it toward the light so they see their own funny reflection.
- Let them mouth the cool metal, which can soothe sore gums.
Pro-Tip: Chill the spoon in the fridge for a few minutes for a simple, natural teether.
Creating a Safe Household Treasure Basket
Treasure basket ideas are endless, but safety comes first. Use this quick checklist:
- Choose bigger items. If it fits through a toilet paper tube, it’s too small.
- Pick natural, non-toxic materials, like untreated wood, stainless steel, cotton, and natural sponges.
- Skip anything sharp, breakable, or painted with unknown finishes.
- Never include batteries, magnets, or items with small parts.
- Check items before every use and replace anything cracked, splintered, or crumbling.
- Wash items regularly, since everything will be mouthed.
Good starter items include a wooden spoon, small whisk, natural sponge, wooden egg cup, silicone spatula, and a cotton napkin.
Problem-Solving & Cause-and-Effect (8–10 Months)
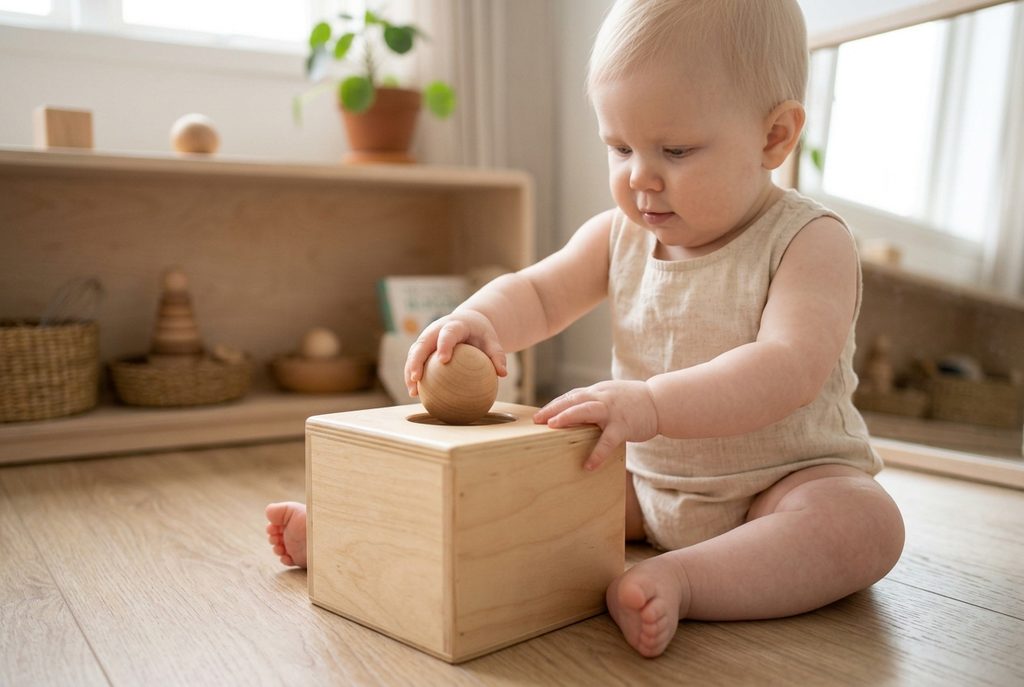
By 8 months, your baby is figuring out that things still exist when they disappear. They’re also starting to understand that their actions make things happen.
These activities build focus, patience, and early problem-solving skills.
10. Object Permanence Box Drops
Around 8 to 10 months, introduce a classic wooden object permanence box to teach babies that objects still exist even when out of sight.
What You’ll Need: an object permanence box with a wooden ball
- Sit with your baby at the box.
- Slowly drop the ball into the hole.
- Watch it disappear and roll back out the tray.
- Hand the ball to your baby to try it themselves.
Pro-Tip: Show it once, slowly and silently. Montessori teaches through calm demonstration, not lots of words.
11. Coin Bank Ball Slots
What You’ll Need: a wooden coin box with large wooden discs, or a tub with a slot cut in the lid
- Show your baby how to push one large disc through the slot.
- Let them try, turning the disc to fit.
- Open the box and dump the discs out to start again.
Pro-Tip: Never use real coins. They’re a serious choking hazard. Stick with large wooden discs made for babies.
12. Drawer Opening & Closing
What You’ll Need: a low “baby drawer” in the kitchen, safe objects like plastic bowls and lids
- Clear out one low drawer and fill it with safe items.
- Show your baby how to pull it open.
- Let them take things out, put them back, and close it again.
Pro-Tip: Lock all other drawers with safety latches, and watch for pinched fingers while they practice closing.
Independence & Gross Motor Milestones (11–12 Months)
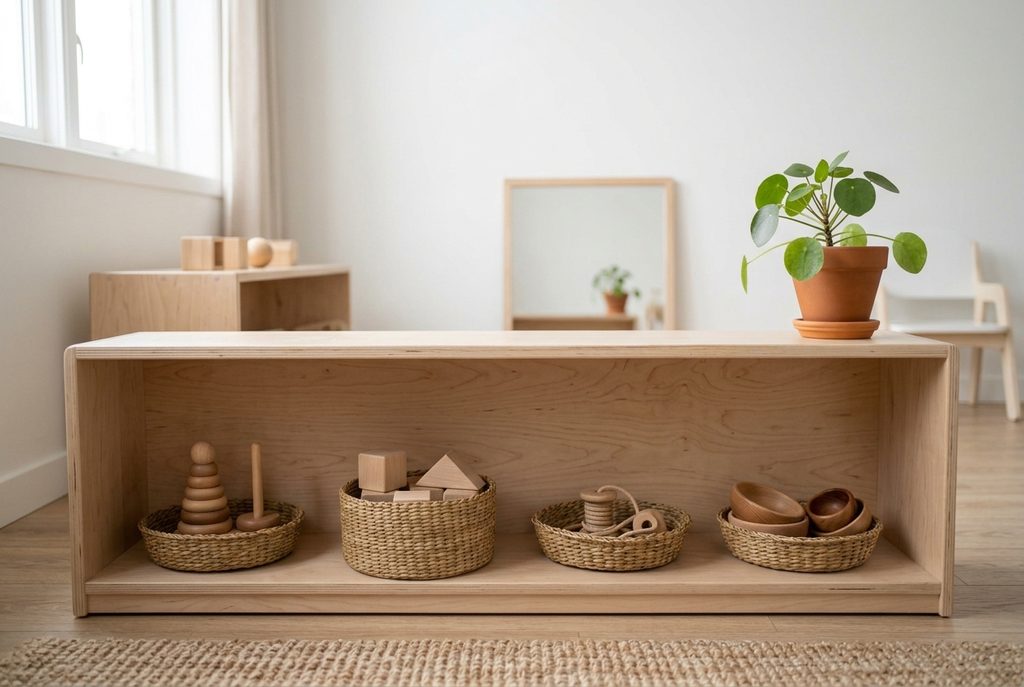
Near the first birthday, babies want to do things themselves. They’re pulling up, cruising, maybe taking first steps, and they love to choose their own activities.
Some Montessori families also use a low floor bed setup around this age. If you’re considering one, talk to your pediatrician first, and follow safe sleep guidelines: a firm, flat mattress, no pillows or soft bedding, and a fully baby-proofed room.
13. Low Shelf Toy Selection
What You’ll Need: a low, open shelf and 4–6 toys
- Place a few toys on the shelf, each with its own space.
- Let your baby crawl or cruise to the shelf and pick one.
- When they’re done, show them how to put it back.
Pro-Tip: Putting toys back is a skill that takes months to learn. Model it calmly every time, and don’t expect perfection yet.
14. Heavy Work Push Basket
What You’ll Need: a sturdy laundry basket, a few board books for weight
- Add books to the basket to make it a little heavy.
- Help your baby stand and hold the edge.
- Let them push it across a carpeted floor.
Pro-Tip: “Heavy work” like pushing gives babies big-body input and builds leg strength for walking.
15. Self-Feeding Snack Station Setup
Montessori weaning play encourages babies to take part in their own meals.
What You’ll Need: a small, low table and chair or a highchair, a small open cup, a bowl, a baby spoon, soft finger foods
- Seat your baby at the low table or in their highchair.
- Place a small amount of food in the bowl.
- Let them pick up food with their fingers or try the spoon.
- Offer a tiny amount of water in the open cup to practice sipping.
Pro-Tip: Always stay with your baby while they eat, and serve soft foods cut to safe sizes. Expect spills, since it’s all part of learning.
Setting Up a Low Montessori Play Shelf on a Budget
You don’t need an expensive wooden shelf. A low bookcase turned on its side or a sturdy cube shelf works great.
- Choose 4–6 toys that match your baby’s current skills.
- Give each toy its own spot with space around it.
- Store the rest out of sight in a closet or bin.
- Rotate toys every 1–2 weeks, or when your baby loses interest.
- Anchor the shelf to the wall so it can’t tip.
Pro-Tip: Fewer choices help babies focus longer. A small, simple montessori play shelf prevents overwhelm and builds concentration.
Common Mistakes with Montessori Baby Activities at Home
Montessori is simple, but a few common slip-ups can make it harder than it needs to be.
- Rotating toys too often. Babies love repetition. Give them time to master a toy before switching it out.
- Keeping lots of battery-operated toys. Flashing lights and loud sounds entertain babies, but they don’t invite much exploration. Simple toys make babies do the work.
- Interrupting concentration. If your baby is focused, step back. Even praise can break their focus.
- Over-intervening. Let your baby struggle a little before helping. A safe challenge builds confidence.
- Buying too much. You don’t need a Montessori-branded everything. Household items work beautifully.
- Relying on containers. Bouncers, swings, and seats are fine sometimes, but floor time is where the real learning happens.
Follow Your Baby: The Heart of Montessori Baby Activities
The most important Montessori tool isn’t a toy. It’s your attention.
Watch your baby. Notice what they reach for, what makes them pause, and what they try again and again. Then set up their space to support that interest.
These montessori baby activities aren’t about doing everything perfectly. They’re about trusting your baby’s natural rhythm and giving them room to grow. You’re already doing that beautifully, mama.
About the Author